Jump to:
- ❓What is mochi?
- 🧁 What type of flour is used for mochi?
- 💜 What you'll love about these Chocolate Mochi Cupcakes
- 📌 Tips for getting the best results from this recipe
- 🧁 What frosting can I use for these cupcakes?
- 🎂 Can I make these as a cake instead of cupcakes?
- 🍧 Looking for more sweet ideas?
- 📝 Recipe
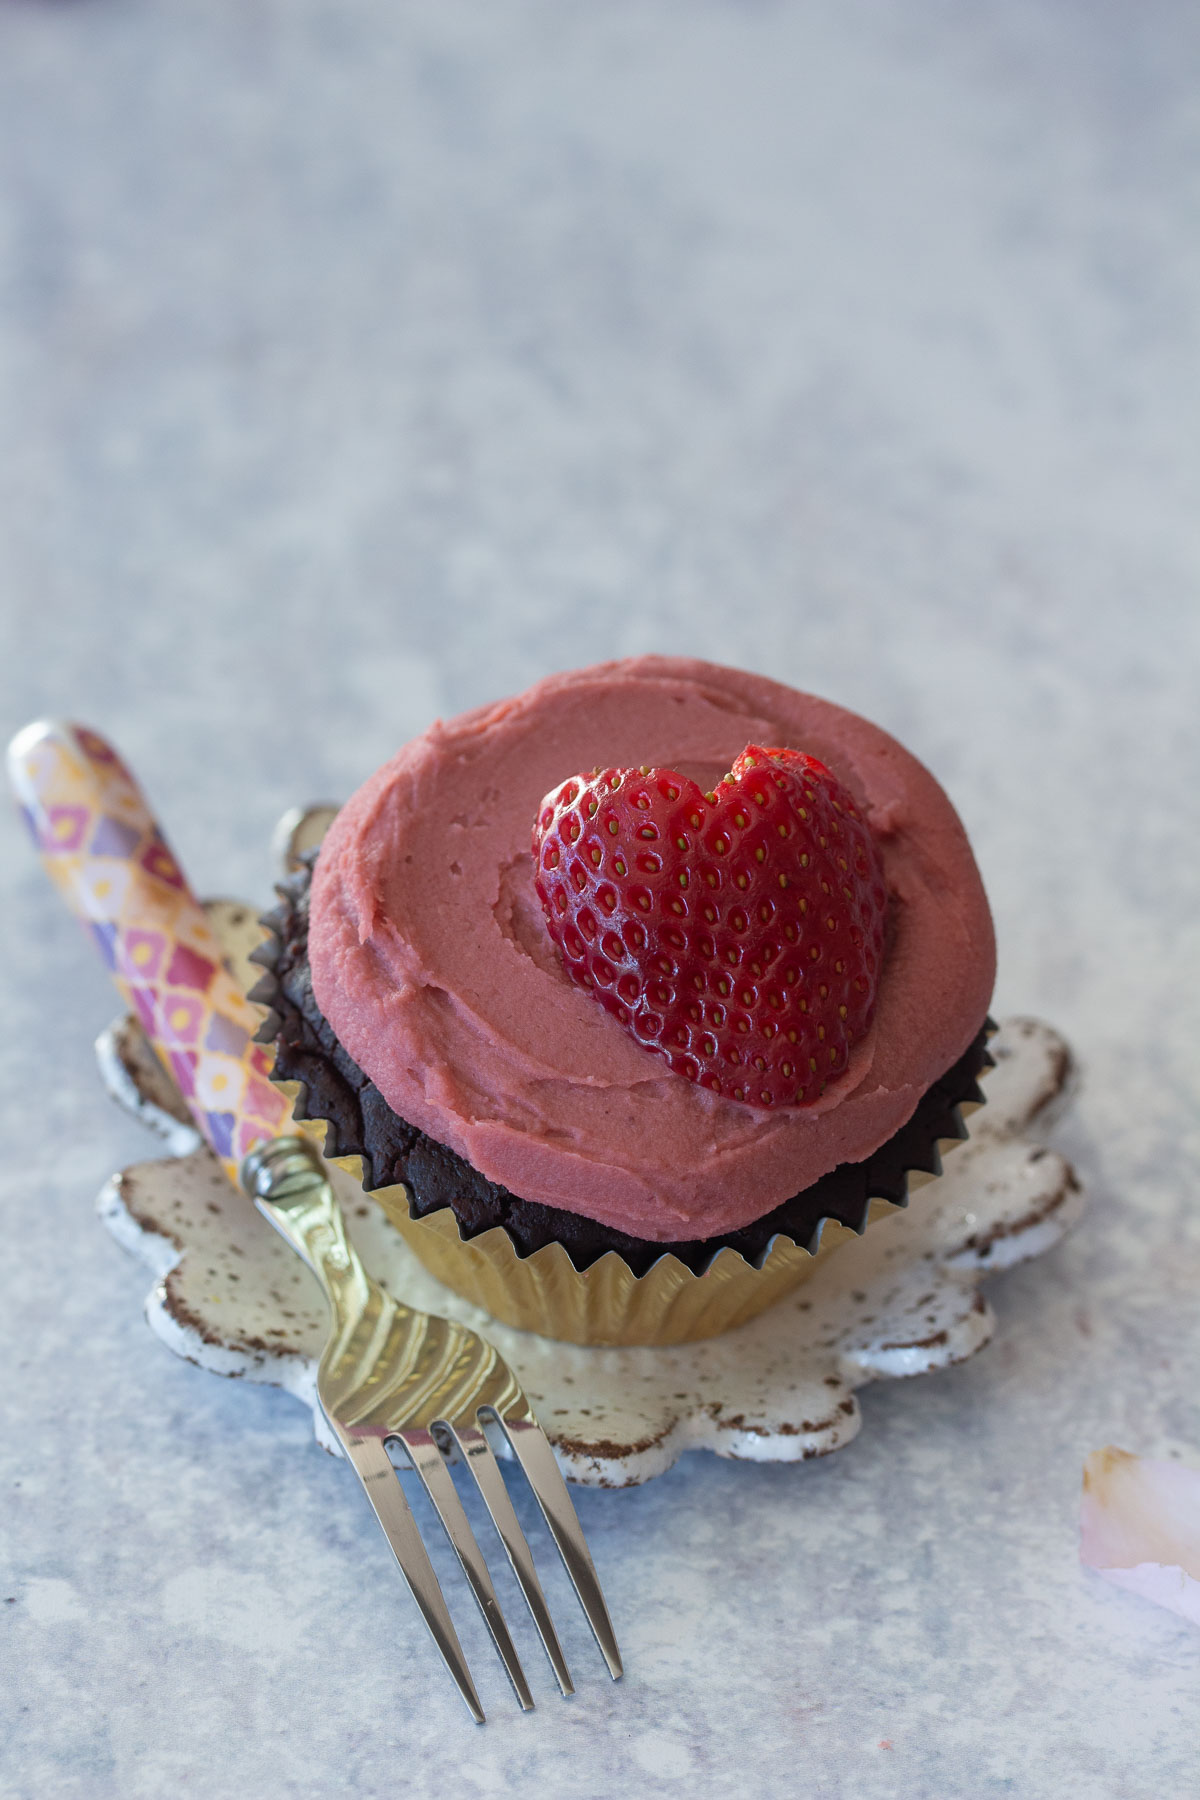
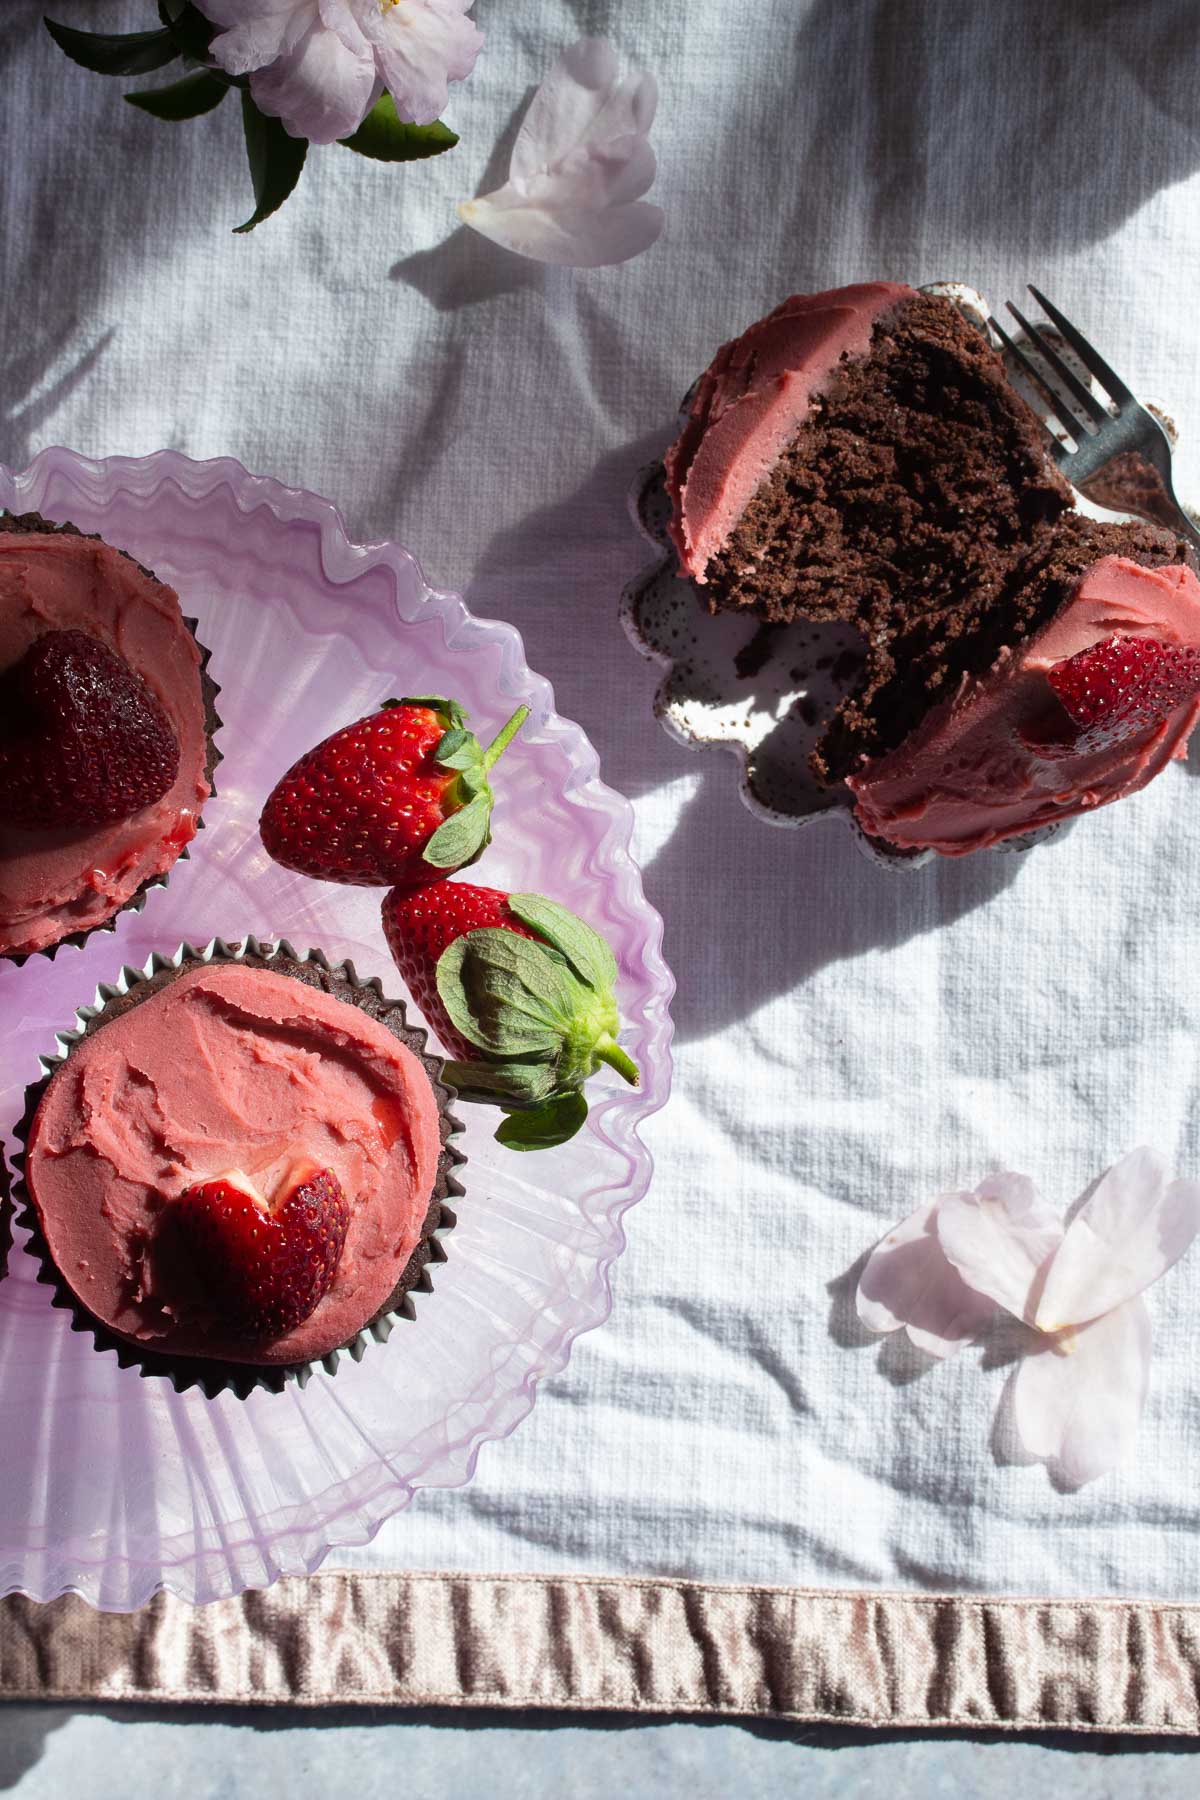
- Dark Chocolate Mochi Cupcakes
❓What is mochi?
Mochi is a Japanese rice cake snack made from a type of rice flour called mochigome, a special glutinous short grain rice variety. Don't worry, it's gluten free, despite being glutinous, which really just means sticky! Traditionally, mochi is made by steaming the rice and then pounding it in a ceremony called mochitsuki.
More modern versions of mochi use glutinous rice flour, although technically - anything made from the flour and not the cooked rice grains - should be referred to as dango, not mochi. Mochi is how most people would refer to these snacks though and the flour - not the cooked rice - is used for a more modern preparation method, so that's what we're going for here with this recipe.
Mochi is believed to have originated in China originally, though after it was introduced to Japan, that country developed a strong mochi culture - so much so that mochi is now strongly associated with Japan.
Mochi can either be used for savoury elements of a meal, such as mochi pieces in soup, or in sweet snacks such as ice cream and sweet snacks. Non-Japanese people have also started to work with this special ingredient more to make mochi-style cakes, cupcakes and cookies for example.
Check out this amazing video of mochi master Mitsuo Nakatani pounding mochi. It's incredible!
🧁 What type of flour is used for mochi?
Mochi snacks in the baking sense can be made from a few similar types of flour which all share the same sticky characteristics: mochiko, sweet rice flour or glutinous rice flour. These types of rice are readily available, although mochiko is mostly found in Japanese grocery stores, so is a little harder to access. General Asian grocery stores and even some supermarkets carry sweet rice/glutinous rice flour and it's also super affordable. It's a pretty cool thing to only require one flour in a gluten-free baked good, which is one reason I love using this type of flour. Used on its own, it will produce a a chewy texture so if that's not what you're after, then you would want to use something else.
💜 What you'll love about these Chocolate Mochi Cupcakes
- Naturally gluten-free
- Minimal ingredients
- Egg-free and vegan
- Easy to make
- Amazing marshmallow texture - not ultra chewy like some mochi recipes, a bit more subtle
- Rich chocolate taste
- Can also be made in to a 20 cm/8 inch cake
- Makes 12 cupcakes

📌 Tips for getting the best results from this recipe
- Use digital scales - you will always get the best results for baking with an accurate scale!
- The water is measured in grams too, not mL or ounces
- Because the ingredient list is minimal, I don't recommend ingredient substitutions. You could try another oil aside from olive oil, but it actually pairs really well with chocolate and isn't a strong flavour once the cupcakes are baked.
- Read the recipe through entirely before making these muffins
🧁 What frosting can I use for these cupcakes?
I developed two versions of a dairy free strawberry frosting which are both amazing with these cupcakes!
The first strawberry frosting option requires only 3 ingredients: coconut cream, freeze dried strawberry powder and icing sugar.
The second strawberry frosting - White Chocolate Strawberry Frosting - also uses cacao butter. It's a bit firmer and more stable at room temperature. I love the subtle white chocolate flavour that shines through!
You could also use your favourite buttercream frosting recipe or use store bought frosting for ease.

🎂 Can I make these as a cake instead of cupcakes?
Yes you can! This recipe will make one 20cm/8 inch cake. Grease and line your cake tin with baking paper. After pre-heating the oven, bake at 170C/340F for 45 minutes on the middle rack - check the middle of the cake with a tester, you should have a few crumbs on it. Cover the cake at the 30 minute mark with foil with 8 puncture marks made in the foil. After baking, let the cake cool in the tin for 1 hour on a cooling rack then turn out to continue cooling. It takes around 3-4 hours to cool completely. You can then frost the cake or serve with whipped cream and berries.
🍧 Looking for more sweet ideas?
How about some vegan white chocolate? Or my Miracle 5 Ingredient Flourless brownies? Whatever takes your fancy, I've got something you'll love!
📝 Recipe
🌟 Did you make this recipe? Leave a ⭐️⭐️⭐️⭐️⭐️ star rating and a comment below to let us know how it turned out. Save it for later by pinning to your favourite Pinterest board and make sure to tag us on Electric Vitality's Instagram to show off your cooking!

Dark Chocolate Mochi Cupcakes
Equipment
- Medium saucepan
- Heatproof bowl or measuring jug
- Mixing bowl
- Digital scales
- Measuring spoons
- Whisk, wooden spoon, spatula
- Cupcake/muffin pan and liners
- Cooling rack
Ingredients
- 150 grams 85-90% dark chocolate (or 5.3 ounces)
- 255 grams freshly boiled water
- 45 grams cacao or cocoa powder
- ¾ teaspoon cooking salt
- 90 grams olive oil (or macadamia oil, melted coconut oil or ghee)
- 270 grams soft light brown sugar
- 255 grams sweet rice flour (or glutinous rice flour, or mochiko flour)
- 3 ½ teaspoons gluten-free baking powder
- 40 grams room temperature water
Instructions
- Preheat the oven to 170C/340F and get your cupcake tray ready with liners.
- Melt the dark chocolate over a double boiler in a heatproof glass jug or bowl - remove from the heat once it is 90% melted and set aside on a cooling rack to finish melting. Otherwise, you can melt the chocolate on low power in the microwave - place the chocolate in a heatproof glass jug or bowl, stop every minute or so and stir until 90% melted. Set aside on a cooling rack to finish melting.
- While the chocolate is melting, add the cacao powder, salt and boiling water to a mixing bowl and whisk together.
- Add the olive oil and then the melted chocolate to the bowl and whisk together really well.
- Next, add the brown sugar and whisk together well.
- Check the mixture has come to room temperature (dip your clean pinky finger in or a taste with a spoon) and then add the sweet rice flour and the baking powder - mix everything together really well until there is no visible flour and no lumps. Add the final 40g of room temp water and mix again. The batter will be thicker than standard cupcake batter.
- Add the batter evenly to the cupcake liners - fill to ⅔ full. Bake for 15 minutes on the middle rack, then turn the tray and bake for a final 15 minutes.
- Remove from the oven and carefully tip out of the cupcake tray.
- Allow to cool completely before decorating with your favourite frosting and sprinkles!
- Store at room temperature for up to 3 days. Best consumed within 1-2 days.


The cupcakes are delicious, but the batter seemed to "explode" out of the muffin cups! What did I do wrong? I weighed everything, but there was enough batter for 14+ cupcakes full to the top! I will try again!
Thanks for your feedback Liz. I realised that there are actually two separate size cupcake liners for standard cupcakes in Australia. I've used gold and silver liners from Coles and they are actually slightly larger than the rose gold ones from Woolworths. I'm going to re-test the recipe and update the yield if necessary.